Snippet Installation : Google Tag Manager (GTM)
Last updated 3 months ago
What is the Tinct snippet?
The Tinct tracking snippet is a small piece of JavaScript that enables personalization on your website. The code is unique to each workspace and only needs to be installed once — it works across all your campaigns and landing pages on the same domain.
If you already use Google Tag Manager, you can deploy the snippet through your container instead of editing your site's source code.
Prerequisites
You need an active Google Tag Manager account with the GTM container already installed on your website.
You need Publish rights on the GTM container for the domain you want to personalize.
How to install
In Tinct, go to Workspace → Settings → Snippet (or use the step shown during your first campaign setup).
Open the Google Tag Manager tab and click Copy code. The snippet already contains your unique snippet ID.
In Google Tag Manager, open your container and go to Tags → New.
Name your tag (e.g., "Tinct Personalization Snippet").
Choose Tag Configuration → Custom HTML and paste the code from your workspace.
Under Triggering, select Initialization — All Pages. This fires the tag as early as possible.
Click Save, then Submit and Publish your container.
Back in Tinct, enter your website URL and click Verify Installation.
Verification
Once verified, your snippet status will show as Active with the date of last verification and the domain it's running on.
⚠️ Important: The snippet must be present on every page where you want personalization to work. Don't paste it into a single page's HTML — always use your site-wide layout or header template so all current and future campaign pages are covered.
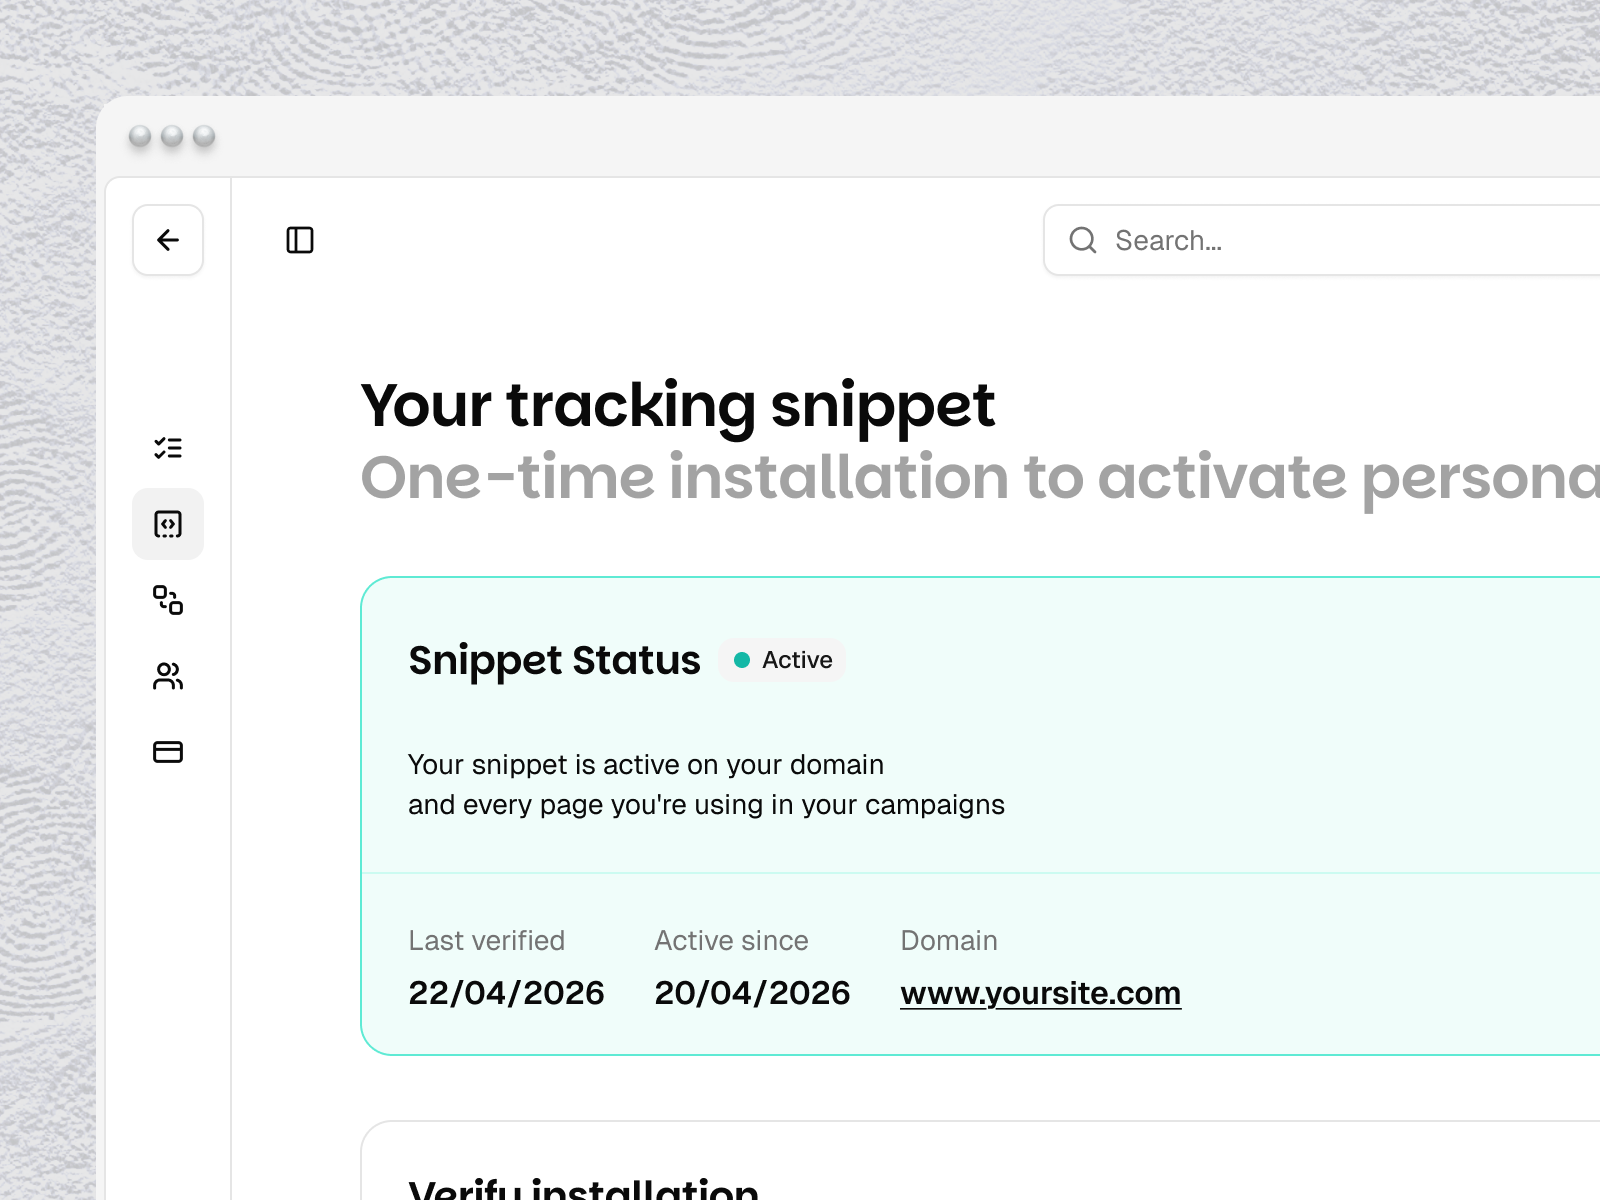
You can also confirm it manually: open your site, and in your browser's developer tools Network tab look for a request to snippet.tinct.run. If it is missing, the tag is not firing.
Do not gate the tag behind cookie consent
Cookie consent is not required to run personalization, and gating the Tinct tag behind it will switch off the whole product rather than just the analytics.
What goes wrong. If the tag only fires once a visitor has granted a consent type such as personalization_storage or analytics_storage, the script never loads until they click Accept. Two things follow:
Verify Installation fails. Our check never sees the snippet, so the installation looks broken even though the snippet itself is fine.
You lose most of your personalization. Every visitor who declines the banner — or simply ignores it — keeps seeing the default page. On a large campaign that is a big share of your traffic.
Why the gate isn't needed. Consent only matters for the advanced analytics layer, not for the personalization itself. The Tinct SDK natively listens to the consent signals set on your site and adapts its own features accordingly, so it stays compliant either way. Gating the tag on top of that turns off personalization as well as analytics.
What to check in GTM. Make sure there are no conditions on the Tinct tag's execution:
In the tag's Advanced Settings → Consent Settings, no additional consent types are required for the tag to fire.
The Initialization — All Pages trigger has no consent-related condition or exception attached.
Your CMP's GTM template or blocking rules do not hold back the Tinct tag.
The gate can be implemented in a few different ways depending on how your setup is built, so it is worth asking your web team to confirm the tag fires on every page load regardless of consent state. Republish the container afterwards, then hit Verify Installation again.
If you need the cookie and storage details to declare Tinct in your CMP, see Tinct — Cookie & storage declaration for your CMP.
Was this helpful?
Still need help? Share an idea