Single sign-on (SSO) for your workspace
Connect your own identity provider so your team signs in to Tinct the way they sign in everywhere else.
Last updated 11 days ago
Single sign-on lets your team reach Tinct through your own identity provider — Okta, Microsoft Entra ID, Google Workspace or any other provider that speaks OpenID Connect or SAML 2.0. People sign in where they already sign in for everything else, and the rules you apply there (multi-factor authentication, conditional access, who is allowed in at all) apply to Tinct too.
Single sign-on is set up per workspace by a workspace admin, in Settings → Security.
What you get
- One way in. Everybody whose address is on a domain you have verified is sent to your identity provider, and — once you require it — cannot sign in any other way.
- Accounts created at first sign-in. People who sign in for the first time get an account and a membership in your workspace, with the role you chose. Single sign-on never grants the admin role.
- Sessions you bound. A session opened through your identity provider goes back to it after a maximum length you set (24 hours by default).
Getting single sign-on
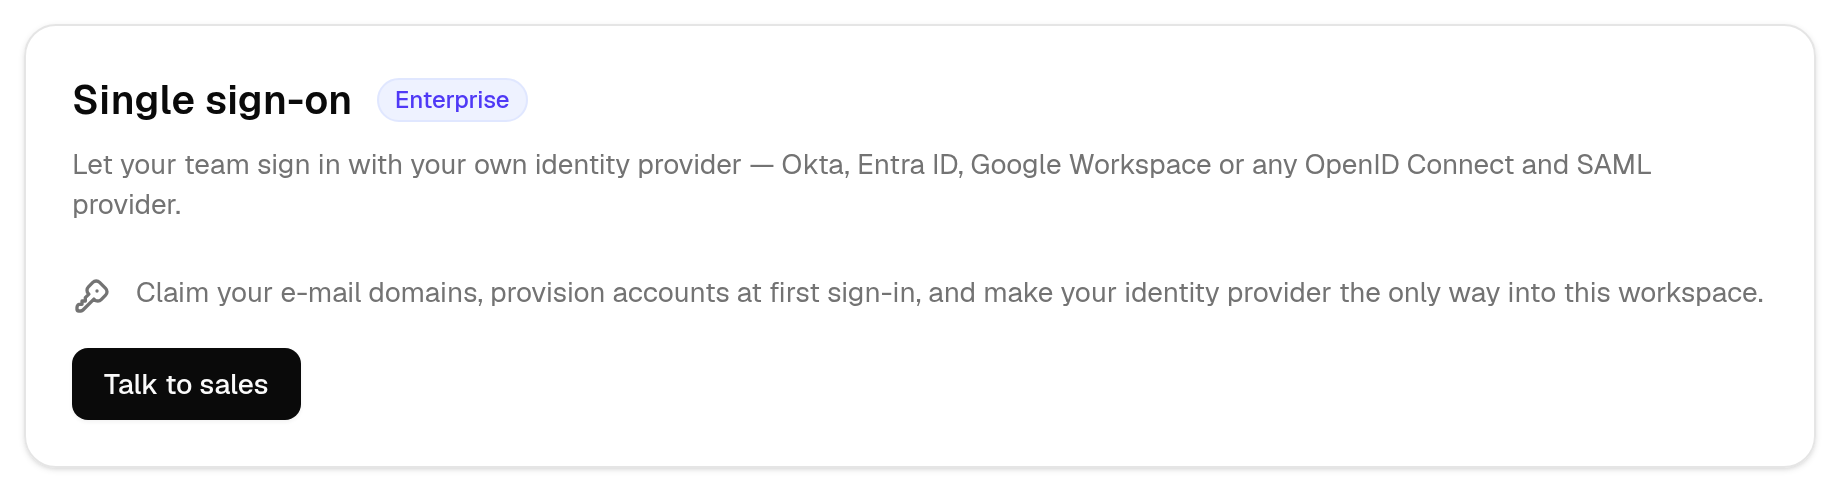
Single sign-on is part of the Enterprise plan and is switched on for your workspace by Tinct. Until then, Settings → Security shows a Single sign-on card with an Enterprise badge and a Talk to sales button. Once the switch is made, the same page shows the settings instead.
What you need
- You must be an admin of the workspace. Editors and viewers see only where the workspace stands (Not set up, Being set up, Tested, Enabled, Required) and can change nothing.
- Access to your company's DNS, to publish the TXT record that proves you own your email domain. See Verify your email domain.
- An identity provider you administer, speaking OpenID Connect or SAML 2.0. One connection per workspace: pick the protocol your provider supports best.
💡 A connection belongs to the workspace it was made in. It is not inherited by the workspaces of an agency's clients, and it never touches memberships in other workspaces.
The four stages
Single sign-on goes live in steps, so a half-finished setup never locks anybody out. The Status card on Settings → Security shows where you are and offers the one action that leaves the step you are on.
- Identity provider described — you saved the connection. Nobody can use it yet. See Set up SSO with OpenID Connect or Set up SSO with SAML 2.0.
- Test sign-in succeeded — you signed in against your provider yourself, in a pop-up window. Nobody else is signed in and no account is created by the test.
- Single sign-on enabled — addresses on your verified domains are sent to your provider by default, and their other ways of signing in still work. You need at least one verified domain to get here.
- Single sign-on required — your provider is the only way in for every address on your verified domains. See Require SSO in your workspace.
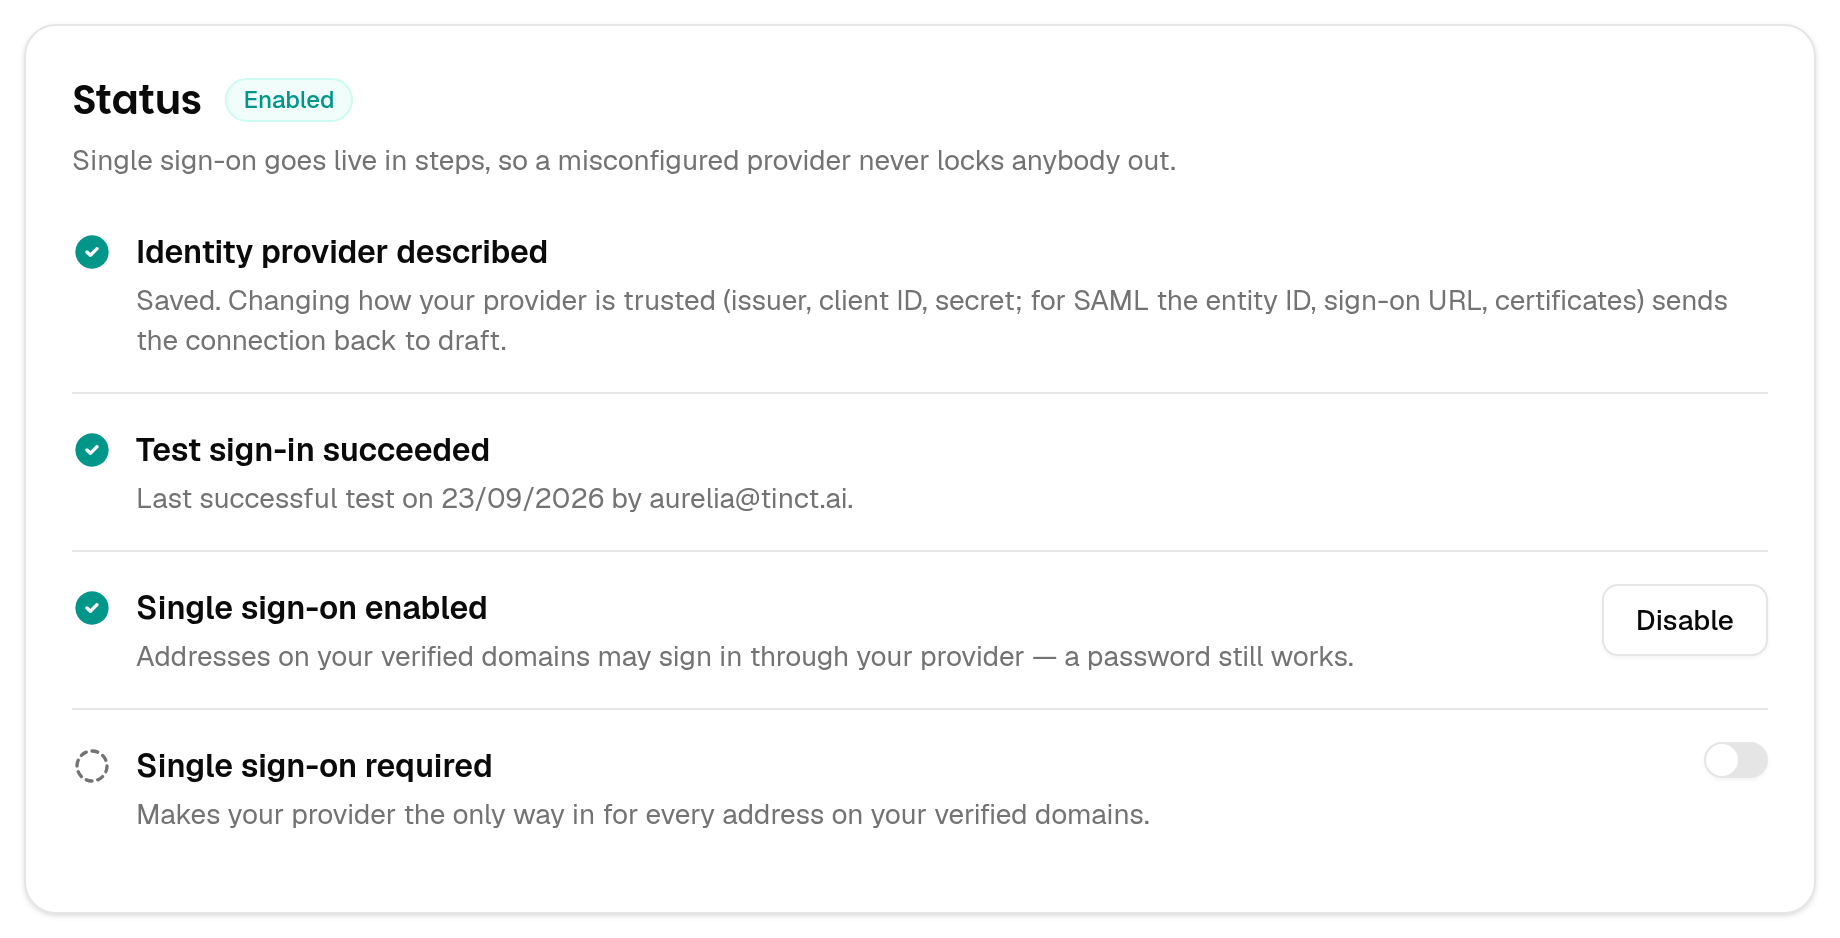
You can stop at stage 3 for as long as you like. Stage 4 is a separate decision, and it can be lifted again.
💡 Changing what your connection trusts — the issuer or the client ID for OpenID Connect, the entity ID, the sign-on URL or the certificates for SAML — sends the connection back to stage 1, switches single sign-on off and lifts the requirement, until a new test sign-in succeeds. Your workspace admins get an email when that happens.
Automatic provisioning from your directory (SCIM)
Once single sign-on is enabled, your identity provider can also manage your members for you: add them when they join your company, follow their name and address changes, and deactivate them when they leave, which ends their access to Tinct within seconds. Groups of your directory can set their roles too. See Set up automatic provisioning (SCIM) and Manage roles with directory groups.
Where to go next
- Verify your email domain
- Set up SSO with OpenID Connect or Set up SSO with SAML 2.0
- Require SSO in your workspace
- Set up automatic provisioning (SCIM), optionally
For what your members see when they sign in, see Sign in with SSO.
Was this helpful?
Still need help? Share an idea